Editing a Class Filter
To edit an existing Class Filter, follow these instructions:
- Click on "Administration" on the main menu.
- Click on "Online Classes" in the sub-menu
- Click on "Online Class Filtering" in the side menu.
- Click on "Edit Filter" next to the class filter you would like to edit.
The Class Filter edit window consists of a number of different "sections" to help you build your class filter.
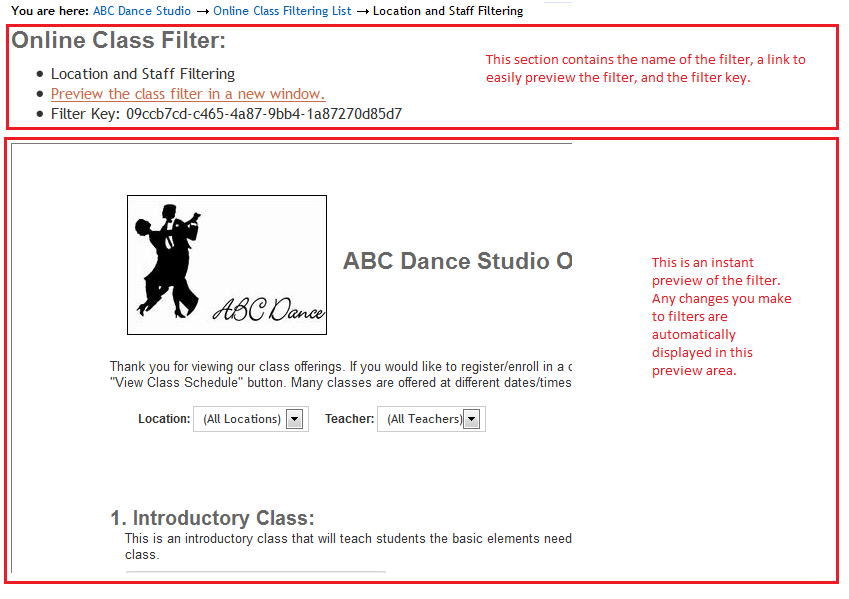
Class Filter Parameters and Preview
The first section on the right-hand side contains the class filter settings and a preview section:

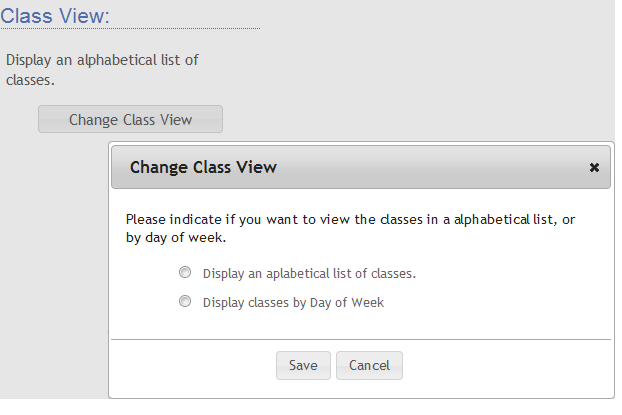
Class View
The Class View section allows you to switch between an alphabetical list of the classes, and the classes displayed by the Day-Of-Week:

Filter Text
You can set your own text in 3 areas within a filter: Title Text, Introduction Text, and Filter Instructions:

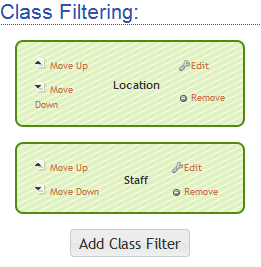
Class Filtering
You can add any number of class filter that are needed. To add a class filter, click on the "Add Class Filter" button and select the options from the pop-up window. Note that you can set a default value for a filter, and also elect to make the filter invisible.
Once you have multiple filters created, you can rearrange the filter by clicking on the "Move Up/Down" buttons, you can "Remove" and filter, and "Edit" a filter.

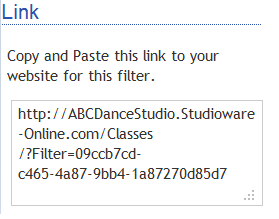
Link
Now that you have the class filter built, you can include a link on you web site to launch the class filter:
